
Last updated September 10, 2026
Full 25-point door and opener safety check with every visit - springs, cables, rollers, tracks, and your LiftMaster or Chamberlain opener included
You get a price before we start. It does not change when the truck arrives.


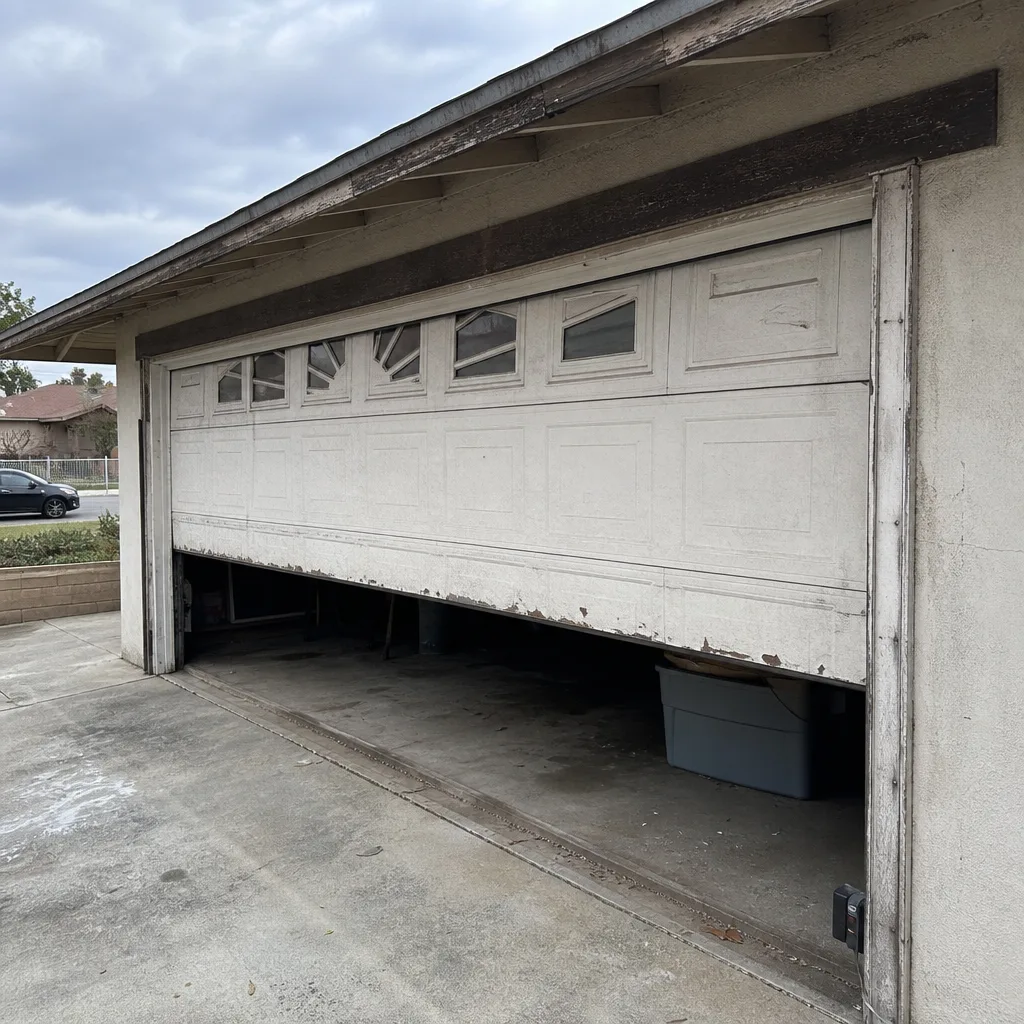 Before
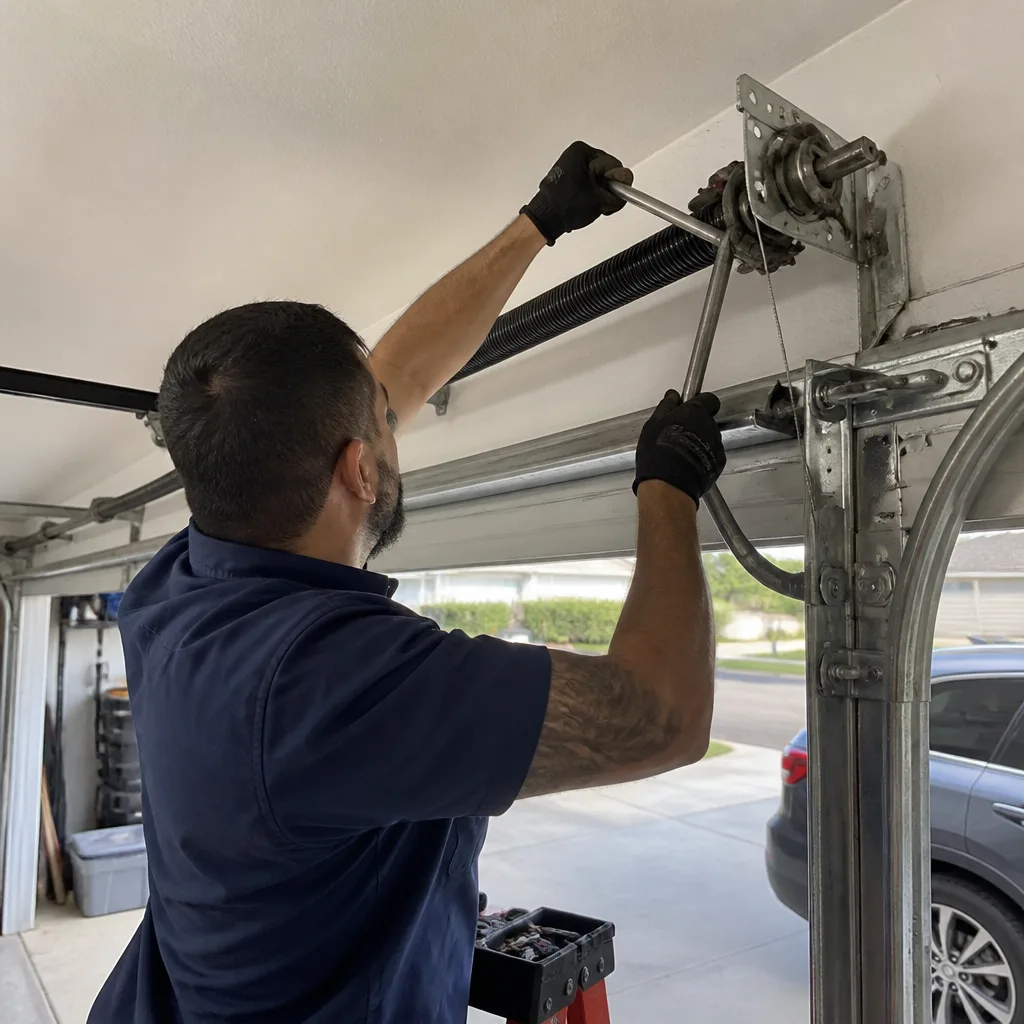 After
After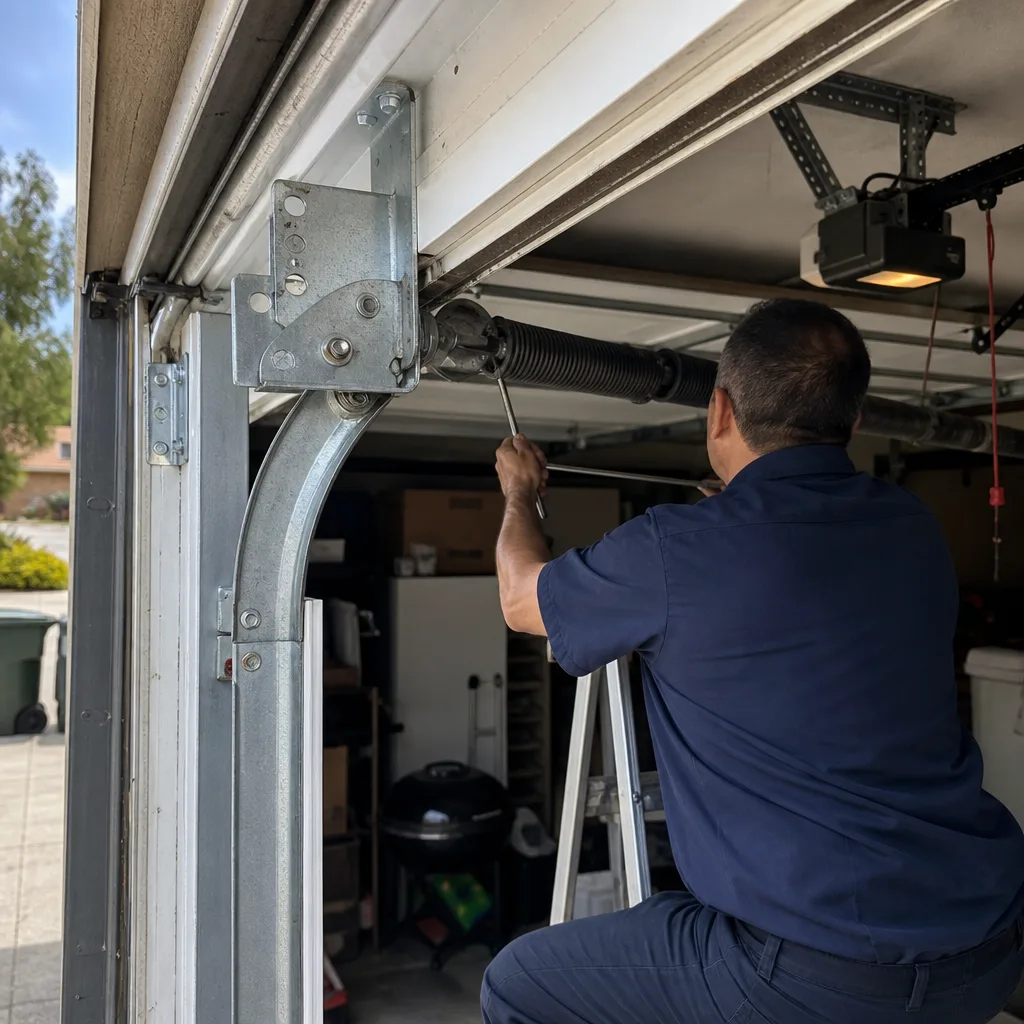 Before
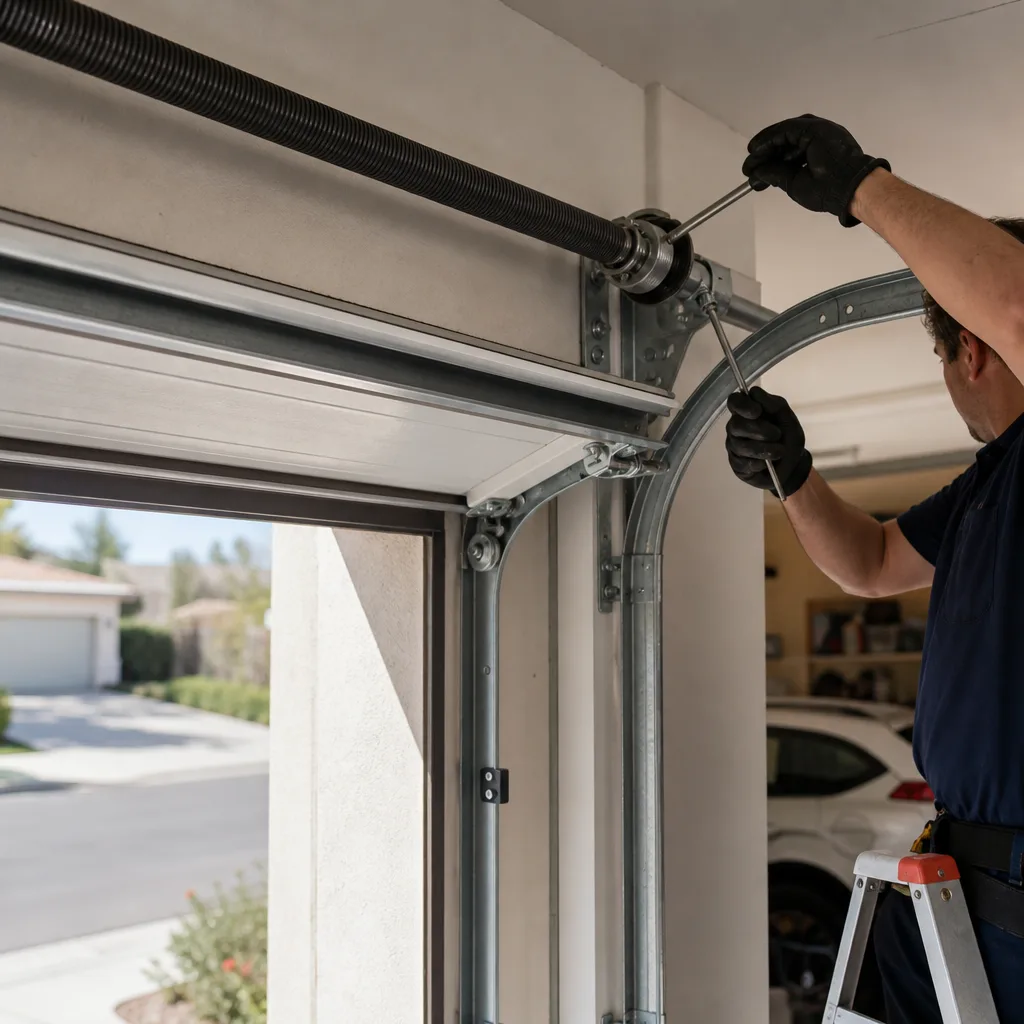 After
After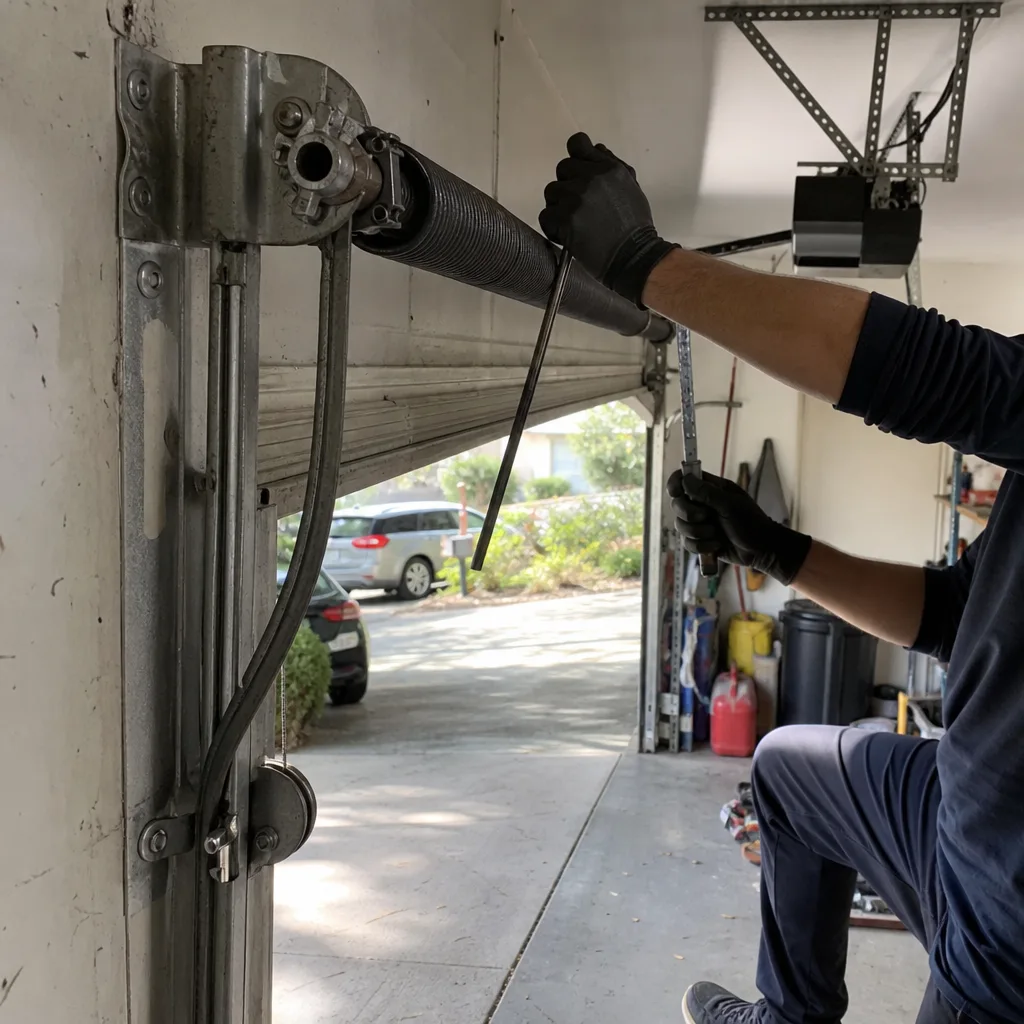 Before
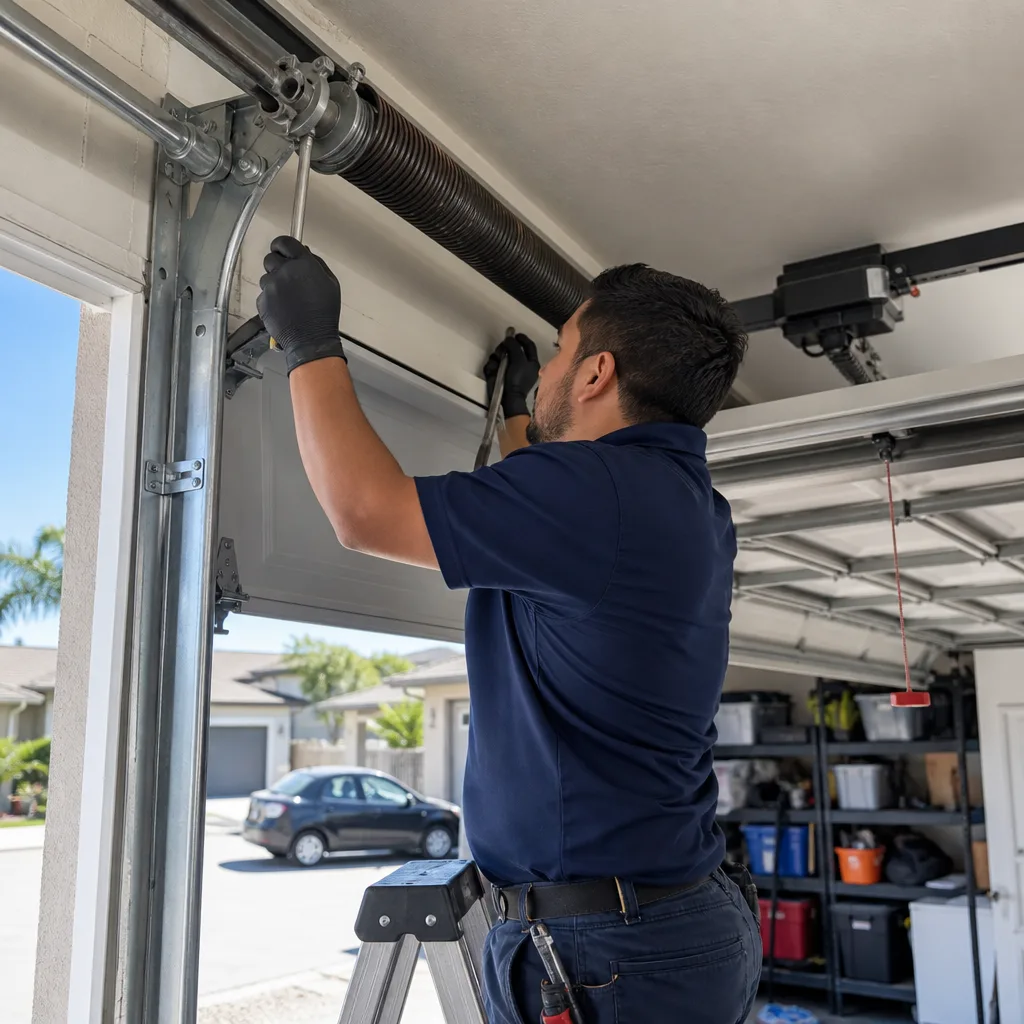 After
AfterGarage Door Repair Maintenance Checklist for Escondido Homeowners
The number one reason a garage door drops a spring without warning is not age. It’s that the last three lubricating sessions used the wrong product and turned the coils into a rust sandwich from the inside out. We’ve pulled apart doors in Escondido that looked fine from six feet away but were quietly corroding where the spring coils meet, because someone grabbed whatever spray was sitting on the garage shelf. This checklist gives you the specific measurements, sounds, and visual cues that separate a door that’s fine from one that’s going to fail before the summer heat hits. No fluff. Just what to look at, what to listen for, and what actually matters here in our dry, high-UV climate.
Quick Answer
A garage door maintenance routine for Escondido homeowners comes down to seven checks: lubricate the rollers, hinges, and springs with a dry silicone spray (never WD-40 or white lithium), test the door’s balance by disconnecting the opener and lifting it manually, measure the spring gap for coils that no longer touch, inspect cables for fraying with a flashlight, retighten the hardware, verify the auto-reverse safety feature, and clean the track sensors. Most of these take under fifteen minutes total. The spring and cable items are visual checks only; actual spring work belongs to our Garage Door Repair services.
Table of Contents
- The Right Lubrication for Escondido’s Dry, UV-Heavy Climate
- How to Measure Spring Gap with a Ruler and a Flashlight
- Cable Fraying: Pass/Fail Numbers You Can Actually Use
- The 60-Second Balance Test and What “Close Enough” Costs You
- Why October Maintenance Matters More in Escondido Than Anywhere with Real Winters
- DIY-Safe Checklist Items vs. Real Injury Risks
- Common Mistakes to Avoid
- When to Call a Professional
- Frequently Asked Questions
The Right Lubrication for Escondido’s Dry, UV-Heavy Climate
Here’s what nobody tells you about garage door lubrication: the product matters more than the frequency. In Escondido, we have two conditions working against you. First, low humidity means metal doesn’t get the natural moisture protection you’d find in coastal air. Second, intense UV exposure breaks down petroleum-based lubricants faster than the can says. The result is that a door lubed with the wrong product twice a year is worse off than a door never lubed at all.
The three hardware-store sprays that make things worse:
- WD-40 – It’s a solvent and water displacer, not a lubricant. It strips whatever lubrication is there and then evaporates, leaving the metal dry within a week. Worse, it attracts dust in a dry climate like ours, which turns into a grinding paste inside the roller bearings.
- White lithium grease from an aerosol can – It sprays on thick, hardens in our summer heat, and cakes up with the fine dust that blows through north county. Six months later you have a gummy, gritty mess on your springs and tracks.
- Generic penetrating oil – Same problem as WD-40, just slower. It’s thin, it runs, it doesn’t stay on the coil surfaces where you need it.
What actually works here: a dry silicone spray or a dedicated garage door lubricant like the ones sold by LiftMaster and Genie. Silicone penetrates the coil surfaces without staying wet, so it doesn’t trap dust. It holds up under direct exposure to sun and resists breaking down in heat. One can lasts most Escondido homeowners two to three years.
Where to apply it, in order:
- Each roller ball bearing (not the track itself), two to three seconds per roller.
- The top and bottom of each spring coil, running the spray along the entire length.
- The hinge pins where the door panels meet, two seconds each.
- The opener rail if you have a chain- or screw-drive opener from Chamberlain or LiftMaster. Belt drives don’t need it.
Skip the track. Lubricating the track does nothing except collect dust and streak the edges of your door. The rollers roll inside the track on their own bearings; the track itself is supposed to be dry.
How to Measure Spring Gap with a Ruler and a Flashlight
A torsion spring is one long coil of steel. When it’s healthy, every coil touches the one next to it, like a stretched Slinky that hasn’t been pulled apart yet. When a spring is getting tired, the coils start to separate. That gap is the earliest of the Garage Door Warning Signs: A Escondido Homeowner’s Reference Guide, and it’s free to check.
Here’s the process we use on every service call in Escondido, adapted for a homeowner with basic tools:
- Close the door completely. This is important because it puts the spring under maximum tension and gives you an honest reading.
- Stand on a step ladder, not a chair, and shine a flashlight along the spring from one end of the bar to the other.
- Hold a ruler against the spring. Any coil gap wider than the thickness of a credit card (about 0.03 inches) is a point of concern.
- Count how many gaps you can see. One or two small gaps on a ten-year-old spring is normal wear. Gaps you can slide a quarter into mean that spring is done.
A door is roughly 200 pounds riding on two springs. When one spring fails, the other takes the full load, which is exactly when a door rips cables out of their drums or drops on a car. We’ve replaced springs in Escondido neighborhoods like Rancho San Pasqual and Lomas Serenas where the coils had separated over a quarter inch, but the door still moved, so the homeowner assumed everything was fine. It was not fine. It was a countdown.
Spring replacement has nothing to do with the door’s age and everything to do with how many cycles it has on it. A standard spring is engineered for about 10,000 open-close cycles. For most Escondido families using the garage as the front door, that is seven to ten years. If your springs are older than that and you see any coil separation at all, you’re on borrowed time.
Cable Fraying: Pass/Fail Numbers You Can Actually Use
Garage door cables are braided aircraft-grade steel, about an eighth of an inch thick, wound onto drums at each end of the spring bar. They hold the door level as it travels. When a cable starts to fail, it frays one strand at a time, and you can catch that with a flashlight before it snaps.
What to check, and the pass/fail numbers:
- Zero visible separation between strands: Pass. Leave it alone.
- One or two individual strands poking out within a 12-inch span: Fail. This cable has started its unraveling sequence. You have weeks, not months.
- Any strand broken or missing entirely, even one: Fail immediately. That cable has lost structural integrity and will not survive another month of daily use.
- The cable looks “fuzzy” or has a dull, rough texture where it wraps the drum: Fail. That’s internal strand wear, and it’s worse than external fraying because you can’t see the damage until it fails.
Run the flashlight along the entire visible cable length on both sides of the door, especially the top three inches where the cable enters the drum and the bottom three inches where it anchors to the door bracket. Those are the two termination points and where 90% of cable failures start.
A frayed cable is not a DIY repair. The cable is under the same tension as the spring, and when it lets go it can move fast enough to cut. If you see any of the fail conditions above, call a professional. This is exactly the kind of thing Otto’s Garage Door tells Escondido homeowners to call about before the door rips itself apart and turns a $180 cable job into a $700 panel replacement.
The 60-Second Balance Test and What “Close Enough” Costs You
A properly balanced garage door stays wherever you put it. If you lift it to waist height and let go, it should not move. Not an inch. This test takes one minute and tells you more about the health of your springs than anything else on this checklist.
Here’s the test:
- Pull the red emergency release handle on your opener. This disconnects the door from the opener carriage. The door is now operating on its springs alone.
- Lift the door manually to about waist height, around three feet off the ground.
- Let go. Do not hold your hand under the door. Stand to the side.
- Watch what happens.
Results, and what they mean:
- Door holds steady at waist height: Your springs are balanced. Reconnect the opener and move on.
- Door drifts down six inches or more: Your springs are weak. The door is heavy, and your opener is doing the lifting that the springs are supposed to do.
- Door shoots up on its own: The springs are over-tensioned, which is unusual but happens when someone without experience adjusted them. This is dangerous and should be addressed before the springs slam in the other direction.
The cost of “close enough” is your opener’s motor life. A garage door opener was never designed to lift a 200-pound door. The springs do the lifting; the opener just guides the door along the track. When springs get weak, the opener starts working against gravity, and the motor burns out two to three years early. In Escondido, where every third home has a LiftMaster or Chamberlain opener installed sometime around 2012, we’re seeing exactly this failure pattern: ten-year-old openers dying because the springs gave up two years ago and nobody noticed.
Reconnect the emergency release by pulling the handle again while running the opener until it re-engages, or simply run the opener and it usually clicks back in on its own.
Why October Maintenance Matters More in Escondido Than Anywhere with Real Winters
In most of the country, the fall maintenance push is about freezing temperatures, ice, and the early dark. In Escondido, none of that applies. But October is still the most important month on the garage door calendar, and here’s why: it’s when the temperature swings get wide.
From late September through November, we get days that push into the high 80s and nights that drop into the low 50s. That’s a thirty-degree swing every twenty-four hours, for weeks at a time. Metal expands in the heat and contracts in the cool. If your hardware is loose, the constant expansion-contraction cycle works the bolts and brackets incrementally free. If your spring already has tiny gaps, the thermal cycling deepens them faster than the stable heat of August would.
October is also when the Santa Ana winds start, and dry Santa Ana air drops the humidity into the single digits. Metal gets brittle faster. A cable that was fine in September can start showing frays by mid-November.
Do these three things in October, and you’ll catch 80% of what goes wrong before it does:
- Run the balance test. This takes one minute and the temperature swings haven’t yet done their full damage.
- Check every bolt and bracket on the track with a socket wrench, not just your hand. Hand-tight is not tight enough; these bolts should be wrench-tight.
- Re-lubricate the springs, rollers, and hinges with a dry silicone spray. This is the second lubrication of the year if you follow a spring and fall schedule.
One pass through this October list takes most Escondido homeowners under twenty minutes, and it prevents the exact failures we get called for in December, when a door quits on a cold morning and someone is late to work.
DIY-Safe Checklist Items vs. Real Injury Risks
Most of this checklist is designed for homeowners to do themselves. Some of it is not. Here is the honest split, because a checklist that doesn’t flag the danger is a liability, not a help.
Genuinely DIY-safe:
- Lubricating rollers, hinges, and springs with dry silicone spray.
- Checking spring gap visually with a ruler and flashlight. You’re looking, not touching.
- Inspecting cables for fraying. Again, looking, not touching.
- Running the balance test via the emergency release handle.
- Retightening track bolts and brackets with a socket wrench.
- Testing the auto-reverse safety feature by placing a 2×4 flat on the floor under the door and closing it. The door should reverse immediately when it contacts the wood.
- Cleaning the photo-eye sensors with a dry cloth.
Not DIY-safe, no matter what any YouTube video suggests:
- Any adjustment, removal, or replacement of a torsion spring. These springs are under hundreds of pounds of torque. A single wrong move can send a winding bar through a hand, an arm, or a face. People die this way every year.
- Any repair involving cables. When a cable snaps under tension, it moves at roughly 60 miles per hour. Same caution as the springs.
- Replacing a bottom bracket or anything that requires you to drill or unbolt a component that is currently under spring tension.
- Adjusting track alignment if the door is already visibly binding. A door under tension can jump the track.
Here’s How to Hire a Garage Door Contractor in Escondido: A Step-by-Step Guide - if it involves a spring, a cable, or a bracket that connects to either one, it is a professional job. The $200 service call is cheaper than the emergency room, and it’s over quicker. Otto’s Garage Door offers free estimates in Escondido, so you can get an honest price on any of the professional items without spending a dollar to find out.
Common Mistakes to Avoid
- Lubricating with whatever is on the shelf. That can of WD-40 next to the workbench is not a garage door lubricant. In Escondido’s dry air, it strips lubrication and leaves bare metal, which is how springs start rusting from the inside out.
- Ignoring the balance test because “the door still opens.” The door still opens because your opener is working overtime to do the springs’ job. By the time the door stops opening, you need a spring replacement and an opener replacement, which is two bills instead of one.
- Spraying lubricant on the track. The rollers don’t ride on the track surface; they roll through it on bearings. A wet or greased track just collects dust, then the rollers grind that dust into the bearings and wear them out faster.
- Checking the springs and cables only when something breaks. The gap and fraying signs show up months before failure. Most Escondido door failures we get called for at nine at night were visible in the daytime for weeks.
- Expecting a spring to last “forever.” Springs have a cycle life, usually around 10,000 open-close cycles. For a busy family garage in north county, that’s seven to ten years. If your springs are older than that, they owe you nothing and should be inspected seriously.
- Doing spring or cable work yourself because the video made it look easy. It’s not that it can’t be done. It’s that a mistake is permanent. We’ve seen the results. Don’t be one.
- Skipping the auto-reverse test. This is a federal safety requirement for a reason. A 2×4 on the floor and a ten-second test tells you everything about whether your opener and sensors are working.
When to Call a Professional
If you see coil gaps wider than a credit card on your springs, call. If your cables show any broken strands or a fuzzy texture near the drum, call. If your door fails the balance test and won’t hold at waist height, call. If you hear a loud bang from the garage and the door no longer moves smoothly, call. And if you’ve never had the door inspected and it hasn’t been touched in ten years, call before it fails in a way that costs real money. A professional can inspect, quote, and fix the problem without turning a maintenance item into an emergency.
Otto’s Garage Door offers free estimates in Escondido – call (760) 313-7785 and a live person answers, often Otto himself. He’ll quote the job on that call and hold the price when he arrives. No dispatch center, no bait-and-switch, no surprises at the door.
Frequently Asked Questions
For homeowners doing the DIY checklist, maintenance costs about $15 a year for a can of dry silicone spray. A professional inspection and tune-up in Escondido typically runs between $120 and $180, depending on what gets adjusted or replaced. Otto’s Garage Door offers free estimates, so you can have someone look at the door and tell you exactly what it needs before spending anything. Call (760) 313-7785 and Otto will quote on the call and hold that price at the door.
Twice a year, in spring and October. Escondido’s hot, dry, high-UV environment breaks down lubricants faster than the coast, and the fall temperature swings put extra stress on metal components, so October is the more important of the two. Use a dry silicone spray, never WD-40 or white lithium grease. If you have already used the wrong product, clean the rollers and springs with a rag and mineral spirits, then apply silicone.
Yes for the visual checks, lubrication, hardware tightening, balance test, and auto-reverse test. No for anything involving springs, cables, or brackets connected to either. A torsion spring is under hundreds of pounds of torque and a cable under tension can move fast enough to kill. If the issue involves a spring or cable, call a professional. The estimate is free, and it is cheaper than a hospital visit.
Three signs: you see visible gaps between spring coils, where one coil separates from the next; the door fails the balance test and drifts down when released at waist height; or you hear a loud, sharp noise from the garage that sounds like a gunshot, which means a spring has already snapped. Any gap wider than a credit card is a warning sign that replacement is coming. Call (760) 313-7785 for an exact quote – estimates are free.
For Escondido’s climate, LiftMaster and Chamberlain belt-drive openers are the most reliable choices. Belt drives run quiet and do not require rail lubrication the way chain drives do. Genie makes solid screw-drive models as well, though they need more frequent lubrication in our dry climate. The opener itself matters less than the condition of your springs – a quality opener installed on doors with weak springs will burn out early regardless of brand.
No, Otto’s Garage Door does not charge a trip fee inside the home county. You get a free estimate, a price quoted on the phone or at the door before work starts, and that price does not change once we see the job. It’s written on the invoice, and it is backed by the 90-Day Done Right Promise – if it’s not done right, we make it right, and one call to Otto himself brings him back.
The Bottom Line
A garage door maintenance checklist only works if the items are specific. Look for spring gaps wider than a credit card, cable fraying with any broken strand, a door that fails the balance test, and the wrong lubricant on the shelf. In Escondido’s dry, UV-heavy climate, the right product is dry silicone spray twice a year, and October is the key month. Most checklist tasks are homeowner-safe. Springs and cables are not. Do the free checks. Leave the dangerous work to a professional who answers the phone and holds the quoted price. For more guides & resources, explore our blog. That’s how a door lasts twenty years instead of quietly failing before summer.
Written by Otto Reinhardt, Owner at Otto’s Garage Door, serving Escondido since 2004. Read more on our Garage Door Repair in Escondido page, Garage Door Installation in Escondido, or Garage Door Opener in Escondido. Or head back to Otto’s Garage Door home.